AI-Generated Tapestry Design Example
A factual example of using AI to generate a tapestry sample image and seasonal palette sheet based on common mullein.
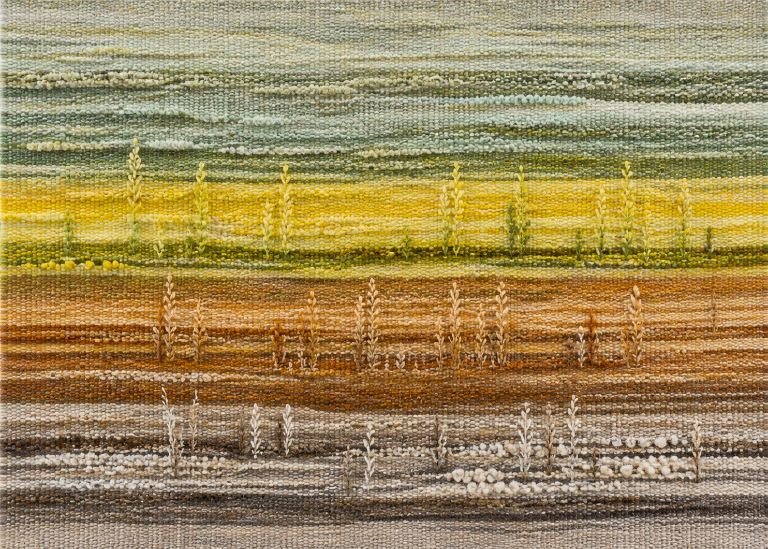
A factual example of using AI to generate a tapestry sample image and seasonal palette sheet based on common mullein.
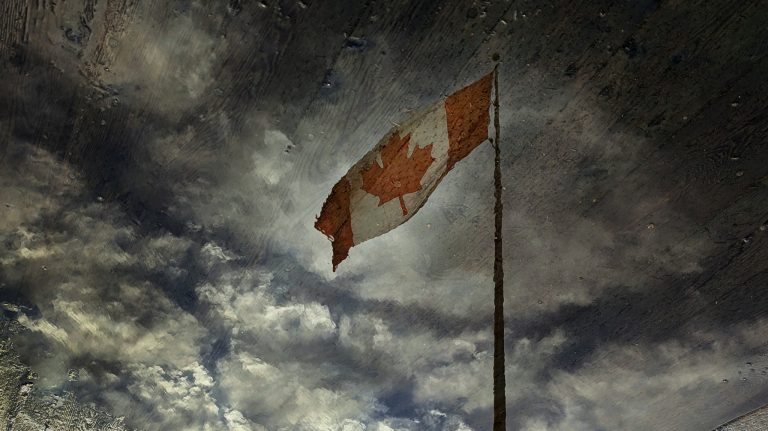
Earlier this month I ran a ChatGPT Research task to review the election status. I ran it again to update it; here is the output. “Great — I’ll run a deep research pass focused on the 2025 Canadian federal election, building on earlier findings to identify new inflection points, updated polling, and whether the projected…
I’ve been using ChatGPT Plus’s ‘Deep Research’ tool. I asked for detail about the upcoming election. Canadian Federal Election 2025: Outlook and Analysis Likely Winner: Polling and Projections Election Date and Context: Canada’s next federal election is set for April 28, 2025, called as a snap election by newly installed Prime Minister Mark Carney (Liberal)…
Atlantic Canada’s salmon farming industry – primarily in New Brunswick, Nova Scotia, and Newfoundland – uses open-net pen systems that raise Atlantic salmon (Salmo salar) in coastal waters. While this industry provides economic benefits, it also poses significant environmental, ecological, health-related, and social risks. This report presents a scientific, evidence-based overview of these risks, with…
Calculating the Digits of Pi: Benchmarking the Bailey–Borwein–Plouffe (BBP) formula and the Chudnovsky algorithm Don’t judge me; what do you do on a Wednesday night? I asked ChatGPT to spit out some Python code to calculate pi to 1,000 digits. Then asked if it could speed it up. Computing the digits of π (pi) is…
I created a python script to monitor an email address for inbound email and change the text of the body into speech. I used ChatGPT for the initial results (“Generate a python script to monitor an email address, and then use openai’s TTS API to convert it to audio and email it back to the…
I found great utility from ChatGPT for coding learning and assistance. This seems to be quite a bit better in practice with GPT-4o. I asked ChatGPT to create a swarm simulation using python, like the old ‘swarm’ screensaver. Then added a ‘hawk’ that catches them. When they are all caught, it restarts. When it was…
There was a post in a Facebook group ( https://www.facebook.com/groups/acdsee) asking how to add EXIF data to an image. The query was how to do this within ACDSee – this may be possible but I did not find the ability on a quick search. Seemed easy enough to do via command line. I started a…
Some good youtube channels: Free courses:
I’ve created a ChatGPT ‘GPT’ to assist in adding borders to images. The general purpose was to add a border to emulate a matte so the end result could be framed in cheap off-the-shelf frames of standard sizes. You can ask the tool to ‘add a white border of 20 pixels to the image’ or…